Android View Evolution : PlaceHolderView
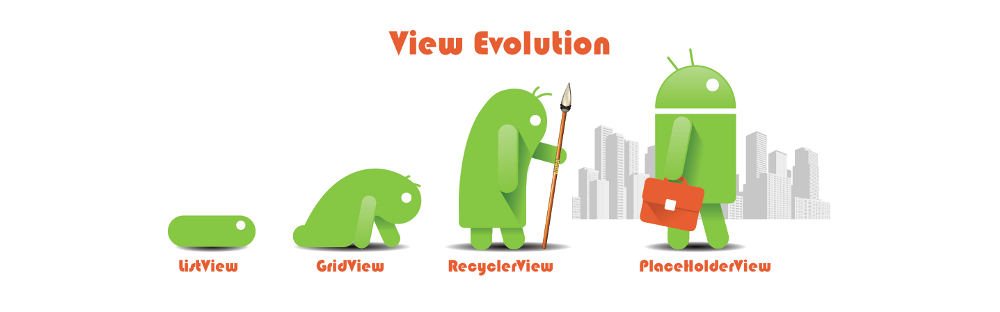
Bye ListView, Bye GridView, Bye RecyclerView, Hello to One View for all Lists : PlaceHolderView
Implementing RecyclerView with dynamic content and adding listeners on each is a very irritating task. Lets leave animation alone, if we have to do it for nested Recyclers then it’s a nightmare. What if we had a very simple interface, with more power, without adapter implementation, and could replace ListView, GridView and RecyclerView with ease and simplicity.
Why PlaceHolderView?
- PlaceHolderView removes all the boilerplate code involved in setting the View adapters. The amazing fact is that there is no adapter to worry about.
- The code becomes extremely modular and works with the flexibility of putting annotations on any view and methods.
- NO findViewById, NO onClickListener ugly codes
- Awesome animations on the view items can be applied with just one line of code.
- Memory management is super easy with this library
Some Applications:
- Navigation Drawer : Tutorial available here

2. Image Gallery

Brief code usage guide:
Step 1:
Add gradle dependency in the app’s build.gradle
dependencies {
    compile 'com.mindorks:placeholderview:0.2.7'
}
Step 2:
Add the PlaceHolderView in the res/layout/activity_main.xml
<com.mindorks.placeholderview.PlaceHolderView
        android:id="@+id/galleryView"
        android:layout_width="match_parent"
        android:layout_height="wrap_content"/>
Step 3:
Create an item view res/layout/gallery_item_big.xml
<?xml version="1.0" encoding="utf-8"?>
<LinearLayout xmlns:android="http://schemas.android.com/apk/res/android"
    xmlns:tools="http://schemas.android.com/tools"
    android:layout_width="match_parent"
    android:layout_height="match_parent"
    android:orientation="horizontal"
    tools:context="com.mindorks.test.MainActivity">
    <com.mindorks.placeholderview.PlaceHolderView
        android:id="@+id/placeHolderView"
        android:layout_width="match_parent"
        android:layout_height="wrap_content"/>
</LinearLayout>
Step 4:
Create ItemTypeBig.java
@Animate(Animation.ENTER_LEFT_DESC)
@NonReusable
@Layout(R.layout.gallery_item_big)
public class ImageTypeBig {

    @View(R.id.imageView)
    private ImageView imageView;

    private String mUlr;
    private Context mContext;
    private PlaceHolderView mPlaceHolderView;

    public ImageTypeBig(Context context, PlaceHolderView placeHolderView, String ulr) {
        mContext = context;
        mPlaceHolderView = placeHolderView;
        mUlr = ulr;
    }

    @Resolve
    private void onResolved() {
        Glide.with(mContext).load(mUlr).into(imageView);
    }

    @LongClick(R.id.imageView)
    private void onLongClick(){
        mPlaceHolderView.removeView(this);
    }

}
Annotations:
- @Layout: Bind the XML layout with the class
- @View: Bind the variable with the view defined in the above layout
- @Click: Bind the OnClickListener to a view
- @LongClick: Bind the long click listerner to a view
- @Resolve: Any operation being performed on the view reference defined by @View should be annotated with @Resolve
- @Animate(Animation.ENTER_LEFT_DESC) : Sets the defined animations in the Animation class on this item view
- @NonReusable : Releases the view reference along with all the attached references in the view object. This view object should not be used again in the addView()
Step 5′: (Optional)
If PlaceHolderView with grid layout or staggered layout or any custom layout is required or any customization to the default configuration is required then use the Builder class provided.
// If customisation is Required then use Builder with the PlaceHolderView
placeHolderView.getBuilder()
      .setHasFixedSize(false)
      .setItemViewCacheSize(10)
      .setLayoutManager(new GridLayoutManager(this, 3));
Step 5:
In MainActivity.java obtain a reference to the PlaceHolderView and add views in it.
PlaceHolderView mGalleryView = (PlaceHolderView)findViewById(R.id.galleryView);
 mGalleryView
       .addView(new ImageTypeBig(this.getApplicationContext(), mGalleryView, url1));
       .addView(new ImageTypeBig(this.getApplicationContext(), mGalleryView, url2));
       .addView(new ImageTypeBig(this.getApplicationContext(), mGalleryView, url3));
       .addView(new ImageTypeBig(this.getApplicationContext(), mGalleryView, url4));
That’s all folks! You are done with the creation and implementation.
Quite Simple huh!
The GitHub repository is here
Keep coding keep rocking \m/